
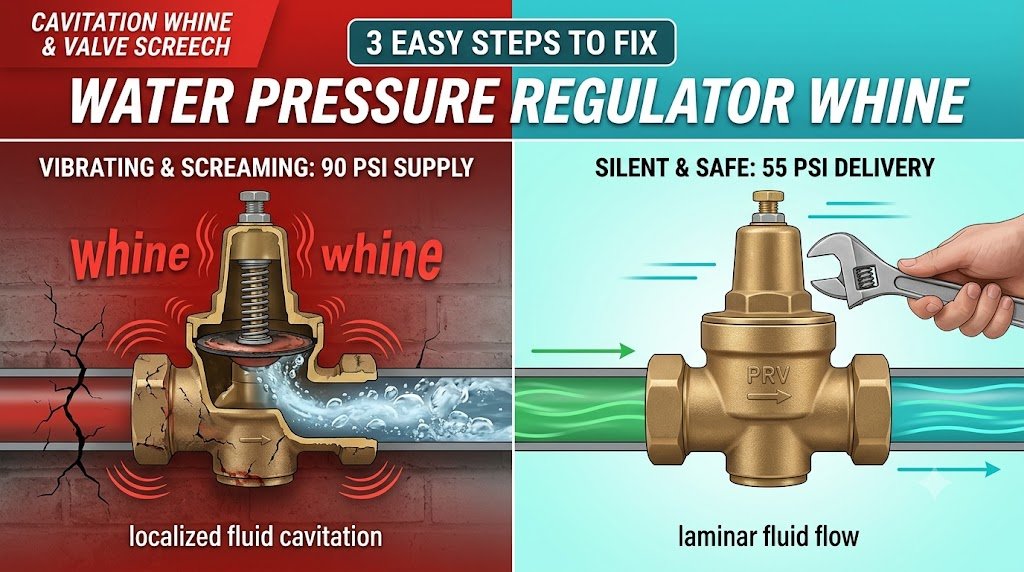
Is your water pressure regulator making a deafening, jet-engine screech every time you open a faucet late at night? It is an alarming, bone-rattling sound that can wake the entire household and leave you wondering if your main water line is on the verge of bursting.
While the acoustic intensity suggests an impending plumbing catastrophe, the root cause is usually far less destructive—though it does require swift attention. That high-pitched scream or low metallic shudder isn’t caused by air trapped in your lines or a failing water heater. Instead, it is the result of fluid cavitation inside your home’s water pressure regulator (also known as a Pressure Reducing Valve, or PRV).
When municipal street pressure climbs too high, forcing fluid through a tiny, worn internal opening, it creates localized sonic vibrations that resonate through your entire piping network.
Why Does a Water Pressure Regulator Make a Screaming Noise?
A water pressure regulator makes a screaming or humming noise due to fluid cavitation and mechanical resonance. When incoming municipal water pressure exceeds 80 PSI, forcing high-velocity water through a small, worn inner rubber diaphragm, a sudden pressure drop creates tiny micro-vapor bubbles. As these bubbles collapse instantly downstream, they create high-frequency acoustic shockwaves between 200 Hz and 1,000 Hz, making the metal pipes vibrate loudly.
The Physics of Cavitation: Bernoulli’s Principle in Your Plumbing and How it Effects Your Water Pressure Regulator
To understand why a simple brass valve can create such an intolerable noise, we have to look at the fluid dynamics governing municipal water delivery.
Municipal utility companies pump water through main distribution lines at high pressures—often between 80 PSI and 150 PSI—to ensure fire hydrants function and multi-story buildings receive adequate flow. Because standard residential plumbing fixtures and appliances are rated for a maximum safe pressure of 60 PSI, every modern home features a brass water pressure regulator mounted where the main supply line enters the structure.
Inside the PRV, a heavy spring pushes down on a flexible rubber diaphragm and spindle assembly. This assembly throttles incoming water to maintain a consistent downstream pressure. However, when municipal pressure surges or the internal diaphragm begins to wear down, fluid mechanics take over:
- High-Velocity Acceleration: As high-pressure water is forced through the microscopic gap between the PRV valve seat and the worn diaphragm, fluid velocity skyrockets.
- Pressure Drop & Vaporization: According to Bernoulli’s Principle, as fluid velocity increases, static pressure within the fluid drops. If the pressure drops near or below the vapor pressure of water, micro-bubbles of vapor spontaneously form in the stream.
- Implosive Shockwaves: The moment this high-velocity water passes through the narrow valve orifice into the wider downstream pipe, the fluid slows down and static pressure instantly recovers. The micro-vapor bubbles collapse violently within microseconds.
- Mechanical Resonance: Millions of these microscopic implosions occur every second, striking the inner walls of the brass valve body. This localized cavitation excites the natural resonant frequency of your copper, PEX, or iron pipes, turning your entire plumbing system into a loud, vibrating amplifier.
Rather than guessing at fluid velocity or making blind wrench turns on your pressure regulator, you can model your system’s exact physical dynamics right now. Use our interactive diagnostic sandbox below to input your home’s current static pressure and pipe dimensions. The engine will instantly calculate your fluid velocity in feet-per-second, identify active cavitation risks, and give you the precise number of turns needed to drop your system into a safe, silent operating zone before you touch a tool.
⚙️ Water Pressure Regulator Diagnostic Tool
Calculate supply line fluid velocity, identify cavitation thresholds, and get exact turn-adjustment targets for your PRV locknut.
Turn top adjusting bolt 1.5 turns counterclockwise (loosening spring tension) to reduce downstream static pressure to 55 PSI and drop fluid velocity below cavitation limits.
How to Fix Water Pressure Regulator Whine and Cavitation in 3 Steps
If your diagnostic sandbox test indicates elevated pressure or active cavitation, you can usually resolve the noise without immediately replacing the entire valve assembly.
Step 1: Measure Static Pressure at the Hose Bib
Before making any mechanical adjustments, attach a standard screw-on water pressure gauge to an outdoor hose bib or washing machine cold water valve. Open the bib fully while no other water fixtures are running in the house.
- 45 to 60 PSI: Ideal operating range.
- 65 to 80 PSI: Moderately high; increased risk of valve chatter and seal wear.
- 80+ PSI: Danger zone. Immediate adjustment required to prevent appliance failure.
Step 2: Adjust the PRV Locknut & Tension Bolt
Locate your main PRV valve (typically found in a basement, crawl space, or utility closet right after the main water shut-off valve).
- Use an adjustable wrench to loosen the outer locknut located at the top of the valve dome.
- Insert a flathead screwdriver or socket wrench into the exposed center adjustment bolt.
- To reduce pressure (and stop screaming): Turn the bolt counterclockwise (loosening the internal spring tension). Each full counterclockwise turn generally reduces downstream pressure by roughly 10 to 12 PSI.
- Check your pressure gauge at the hose bib until static pressure reads between 50 and 55 PSI.
- Tighten the outer locknut to secure the setting.
Step 3: Flush Thermal Expansion Debris
If adjusting the bolt does not stop the noise or lower the static pressure, mineral scale, rust flakes, or solder debris may be trapped in the internal valve seat.
Shut off your main water valve, unscrew the top dome cap of the PRV, carefully pull out the internal cartridge and stainless steel strainer, and rinse them clean in a bucket of water. Reassemble the unit and test for smooth, quiet operation. If the inner rubber diaphragm appears cracked, pitted, or stiffened, purchase a manufacturer replacement cartridge kit to rebuild the valve seat without cutting into your main water pipes.
🛠️ What should we break down next? let us know your suggestions in the comments—or drop us a line directly through our Contact Page!